Getting a new Android phone can feel exciting and a little confusing at the same time. You see new screens, prompts, and choices that may not make sense at first. This guide walks you through every step in plain English. We have helped many beginners and seniors set up their phones without calling a family member for help. If you also own an Apple device, you may want to compare with our guide on how to set up a new iPhone.
According to Pew Research Center, 61% of adults ages 65 and older owned a smartphone in 2021. That number has grown since then. More older adults now use Android phones for photos, video calls, and online banking. But setup often happens too quickly in a store. You can do it at home, at your own pace, and avoid mistakes. Taking your time prevents missing important privacy and security settings.
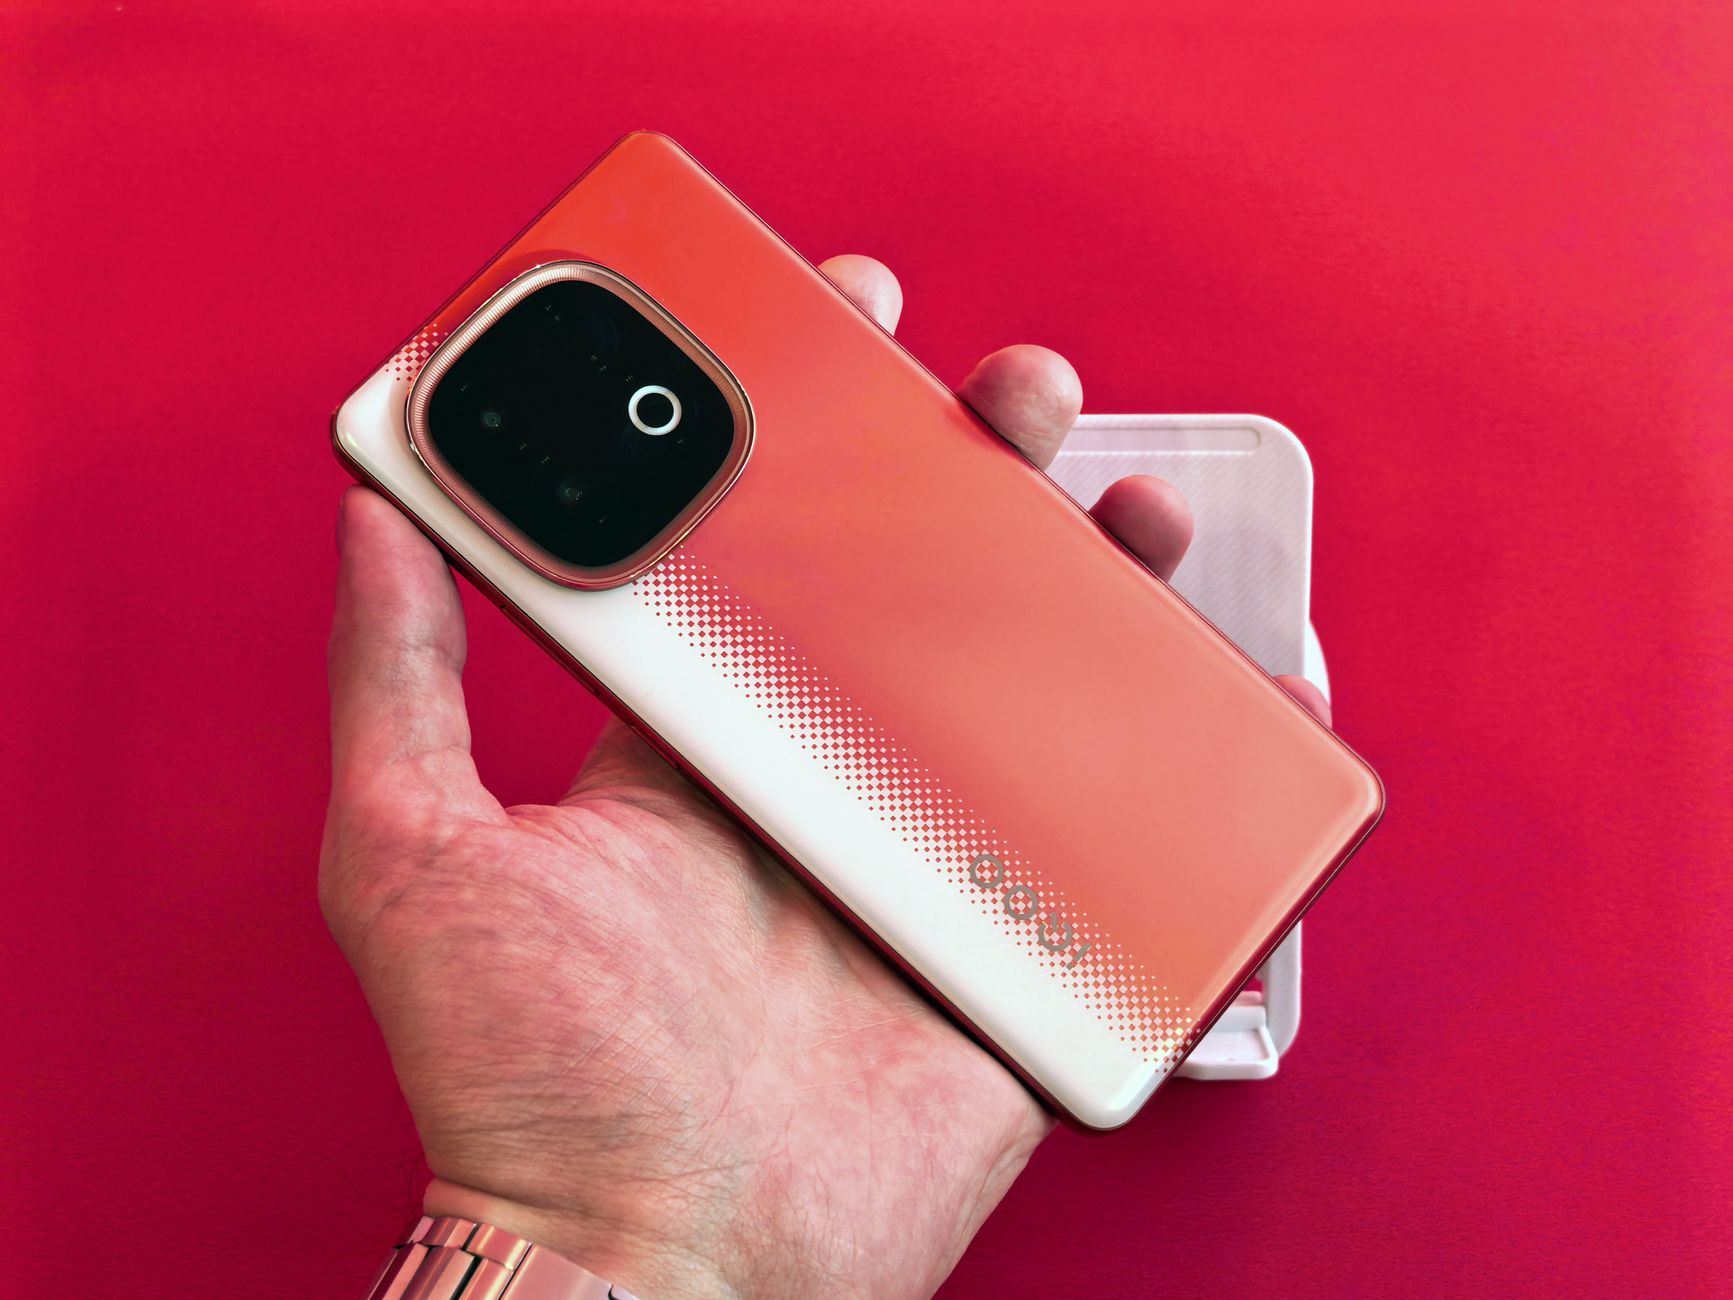
Android phones come from Samsung, Google, Motorola, and other companies. The screens and buttons may look different, but the setup steps are nearly the same. You will need three things before you start: your Google account email and password, your old phone if you have one, and your home Wi-Fi password. Keep them on a piece of paper next to you. This preparation saves time later. Do not worry about making mistakes; most screens have a back arrow.
This article is written for seniors and beginners who want to feel confident with a new phone. Every step tells you what to tap and why. The touch screen skills you practice here are similar to using a tablet, so you may also want to read how to use a tablet. Let’s start setting up your phone now. You will be making calls and sending messages soon.
What You’ll Need
- New Android phone
- SIM card or eSIM from your carrier
- Wi-Fi network name and password
- Google account email and password
- Old phone for data transfer (optional)
- Charger and cable
How Do You Best Way to Set Up a New Android Phone?
- Charge your phone and insert the SIM card
Before you turn on the phone, plug the charger into a wall outlet. Use the cable that came in the box if possible. A new phone may have some battery, but starting with a full charge prevents the phone from turning off during setup. A full charge usually takes about one to two hours, but you can start setup with at least 50% battery.
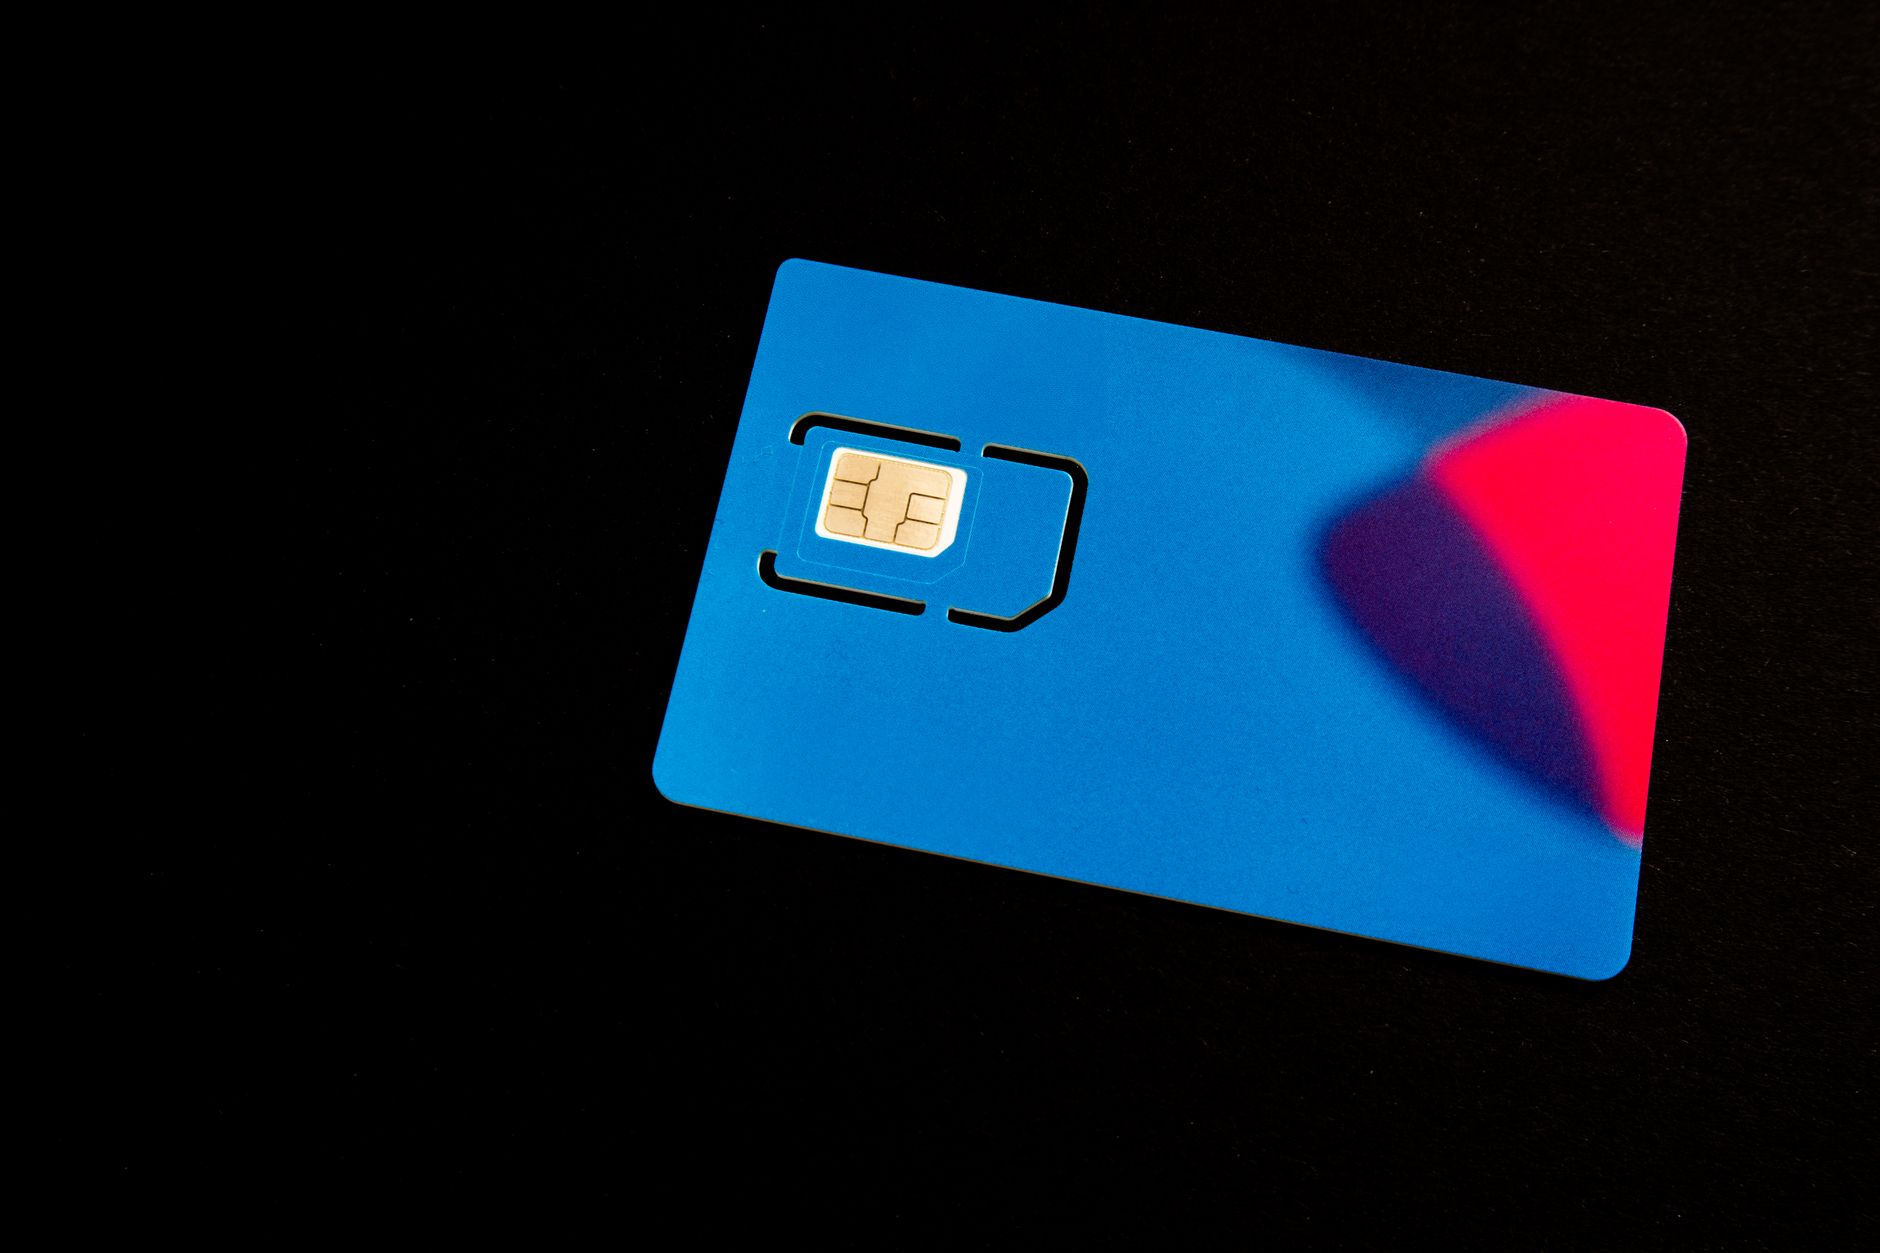
Find the SIM card tray on the side or top of the phone. Your carrier may have already inserted the SIM. If not, use the small metal tool or a paperclip to gently push into the tiny hole. The tray pops out. Place the SIM card with the gold contacts facing down and the notched corner aligned. Push the tray back in until it clicks. Do not force it.
Some phones support eSIM, which means no physical card is needed. If your carrier gave you a QR code, you can scan it later during setup. If you skip the SIM card, you can still use most features over Wi-Fi, but you cannot make regular calls. After this step, you are ready to turn on the phone and choose your language.
- Turn on the phone and choose your language
Press and hold the power button on the right side or top of the phone for a few seconds. You will feel a short vibration or see the manufacturer logo. Let go when the screen lights up. The first screen usually says Welcome or Hello. If the phone does not turn on, charge it for at least 15 more minutes and try again.
The phone will ask you to choose a language. Look for your language in the list. On most Android phones, you tap the language and then tap Start or a right arrow. If the text is too small, you can change it later using our guide on how to increase text size on phone. If you cannot read the screen, ask someone to help or use the accessibility button.
Some phones also ask you to select a region or country. This helps the phone show correct date, time, and number formats. Choose your country and tap Next. This step connects to the next one where you will connect to Wi-Fi. Without Wi-Fi, you cannot sign into your Google account or download updates.
- Connect to Wi-Fi
The phone now shows a list of available Wi-Fi networks. Tap your home network name. If you do not see it, tap Scan or refresh. Enter your Wi-Fi password carefully. Passwords are case-sensitive, so capital and lower case letters matter. You can tap the eye icon to see what you typed.
Connecting to Wi-Fi lets the phone download updates and sign into your Google account without using your mobile data. If you do not have home Wi-Fi, you can tap Skip or Use mobile network. But that may use your cellular data and slow setup. Public Wi-Fi at a coffee shop is usually not safe for account sign-in.
After you connect, you may see a message about Google services. You can leave the boxes checked for automatic backup and location services. These are helpful for finding a lost phone and backing up photos. Tap Accept or Next. Then the phone moves to the Google account screen.
- Sign in with your Google account or create one
You will see a screen that asks for your email or phone number. This is your Google account. If you already have a Gmail address, enter it and tap Next. Then enter your password. If you do not have a Google account, tap Create account. Follow the prompts to choose a new Gmail address and password. This account gives you access to Gmail, Google Play, and automatic backup.
Google’s official Android setup guide recommends using the same Google account you used on your old phone. That way your contacts, calendar, and some apps come back automatically. If you forgot your password, tap Forgot password. You can use a recovery email or phone number. For help creating a strong password, read our guide on password safety for seniors.
After signing in, Google will ask about backup and location. You can tap More options and choose to turn off some services if you wish. But keeping Backup on is a good idea. It saves your photos and settings to your Google account. If you later buy a new phone, you can sign in and restore everything. Tap I agree after you review the terms.
- Restore from a backup or copy data from your old phone
Now the phone asks if you want to copy apps and data from your old phone. If you have your old phone nearby, tap Next. You may need to connect the two phones with a cable or use Wi-Fi. On many Android phones, you can hold the phones close together or scan a QR code. Follow the on-screen steps. You can copy contacts, photos, messages, and some apps.
If your old phone is broken or you do not have it, tap Don’t copy. You can still sign in later and download your contacts from your Google account. Photos that were backed up to Google Photos will appear automatically. If you need to move photos from an old phone to a computer first, see our guide on how to transfer photos from phone to computer.
The transfer can take anywhere from a few minutes to an hour, depending on how much data you have. Keep both phones plugged into chargers. Do not close the apps or turn off either phone until the transfer says complete. After this step, you will set up a screen lock to keep your phone private.
- Set up a screen lock and add your fingerprint or face
The phone will ask you to set a screen lock. Choose a PIN, pattern, or password. A PIN of at least four digits is easy to remember and keeps strangers out. Avoid using 1234 or your birthday. You will use this PIN every time you unlock your phone. You can also add your fingerprint or face later if your phone supports it.
To add a fingerprint, go to Settings, then Security, then Fingerprint. Touch the sensor on the back or under the screen several times. The phone records different parts of your finger. This makes unlocking fast and safe. Face unlock works similarly, but it may not work well in low light. You can skip this step and add it later. If you need help with phone settings, our guide on how to use voice assistants may help you navigate by voice.
Screen lock protects your email, banking, and photos if you lose your phone. Without it, anyone who picks up your phone can open your apps. Do not skip this step even if it feels like extra work. After you set a lock, the phone will ask about Google Assistant and other features. You can set those up now or later.

- Update your apps and personalize your home screen
After setup, open the Google Play Store app. It looks like a colorful triangle. Tap your profile picture in the top right corner, then tap Manage apps and device. You will see Updates available. Tap Update all. This downloads the latest versions of your apps. Updates fix bugs and improve security. This step may take a few minutes on Wi-Fi.
You can also remove apps you do not want. Tap and hold an app icon, then drag it to Remove or Uninstall. To move an app, drag it to a new spot. You can add apps to your home screen by opening the app drawer and dragging them. If the text or icons look too small, you can adjust the display size in Settings.
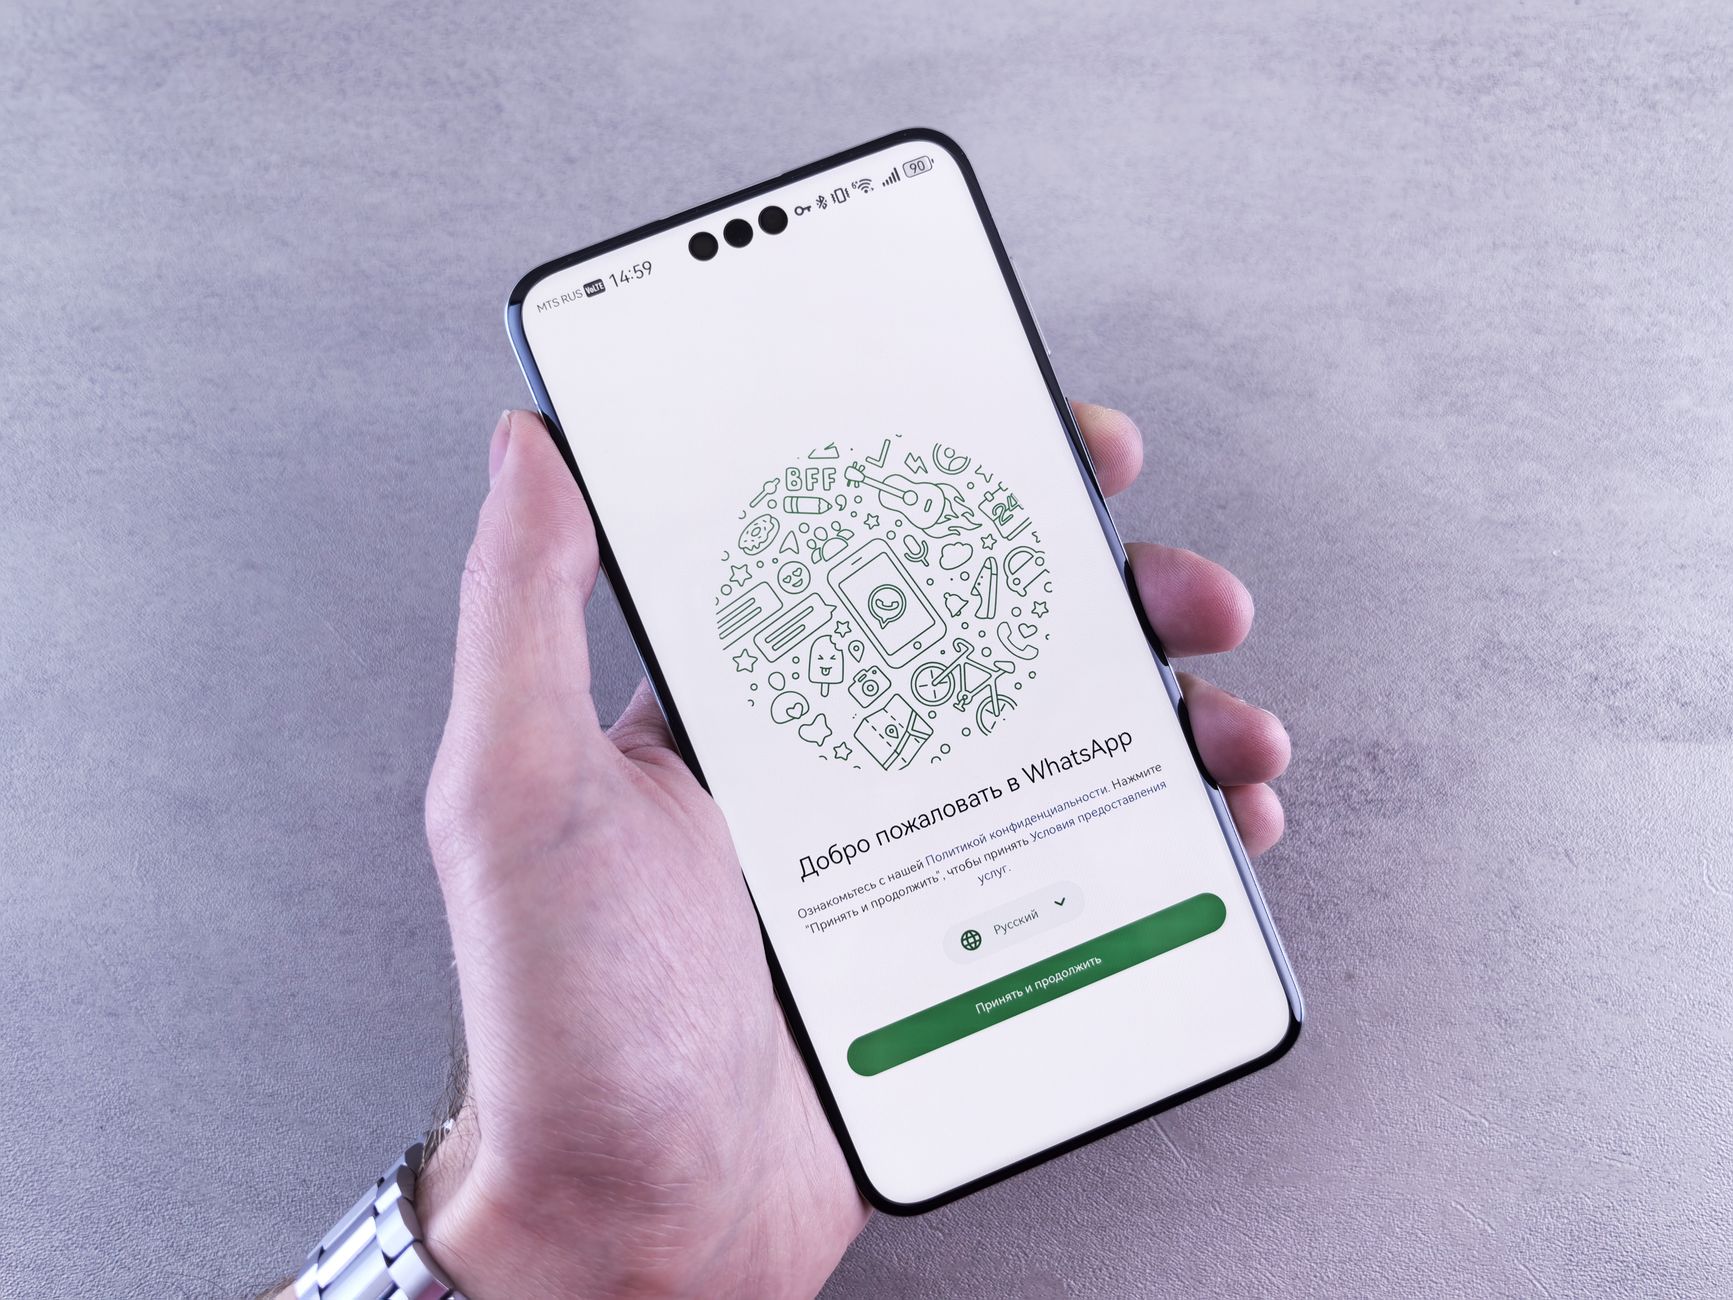
Now is a good time to set up your most-used apps. If you plan to video chat with family, you may want to install Zoom or WhatsApp. You can also set up email by opening the Gmail app and following the prompts. After this, your phone is ready for daily use.
Red Flags & Warnings
- 🚨 Never share your Google password or verification codes with anyone, even if they claim to be from Google support.
- 🚨 Do not set up your phone on public Wi-Fi in a coffee shop or airport. Your account details could be visible to strangers.
- 🚨 Never skip the screen lock. A lost phone without a PIN gives strangers easy access to your email, photos, and bank apps.
- 🚨 Watch out for fake tech support calls that say your Android phone has a virus. Google will not call you about problems.
- 🚨 Only install apps from the Google Play Store. Apps from random websites can hide malware that steals your data.
Frequently Asked Questions
Do I need a Google account to set up an Android phone?
You can skip signing in during setup, but you need a Google account to download apps from the Play Store, back up your phone, and use Gmail. You can create a free account during setup with any email address. Without it, many features will not work.
How long does it take to set up a new Android phone?
The basic setup takes about 15 to 30 minutes. Transferring data from an old phone can add another 30 minutes to an hour. Updates after setup may take a few minutes more. Keep the phone plugged in during the process.
Can I set up an Android phone without a SIM card?
Yes, you can set up the phone over Wi-Fi and use apps, email, and video calls. You will not be able to make regular phone calls or use mobile data until you insert a SIM card. Some carriers send an eSIM instead of a physical card.
What if I forgot my Google account password?
Tap Forgot password on the sign-in screen. Google will send a code to your recovery email or phone number. If you no longer have access to those, you may need to create a new Google account. Keep your recovery options up to date.
Can I change the language or text size after setup?
Yes, go to Settings, then System, then Languages & input to change the language. For text size, go to Settings, then Display, then Font size. You can adjust these at any time.
Is my personal data safe during the transfer from my old phone?
The transfer between two Android phones uses a secure connection, usually over Wi-Fi or a cable. Avoid doing the transfer on public Wi-Fi. Google encrypts your backup data when it is stored in your account.
What Should You Remember?
- Charge first: Plug in your phone before setup to avoid it turning off.
- Google account: Sign in or create one to access apps and backup.
- Wi-Fi: Connect to a trusted home network, not public Wi-Fi.
- Data transfer: Use your old phone to copy contacts, photos, and messages.
- Screen lock: Set a PIN or fingerprint to protect your information.
- Update apps: Open Google Play Store and tap Update all after setup.
This article is for general informational purposes only and is not medical, financial, or professional advice. Statistics and product details change, so verify current figures with the cited source before acting. Some links may be affiliate links that support this site at no cost to you.