Transferring photos from your phone to a computer can feel confusing. But it does not have to be. This guide shows simple steps for iPhone and Android. We focus on the USB cable method first because it is fast and free. We also cover wireless options like Google Photos and iCloud. If you just got a new phone, read how to set up a new iPhone or how to set up an Android phone before you start. The steps are short and easy to follow.
According to Pew Research Center, 90% of American adults own a smartphone. Many people take hundreds of photos every month. Those photos pile up and eat phone storage. Moving them to a computer frees space and keeps memories safe. But the steps differ between iPhone and Android. They also differ between Windows and Mac. We will explain each path in plain English. You do not need to be a computer expert to finish this task.
You do not need special software or a technical background. The same cable that charges your phone can transfer photos. You can also use free cloud services like Google Photos and Apple iCloud. This guide is written for seniors and beginners. We use simple words and clear steps. If you want larger text on your phone while following along, see how to increase text size on phone. Taking it slow will help you avoid mistakes.
One safety note. Only use official tools from Apple, Google, or Microsoft. Scammers sometimes offer photo transfer apps. If an app asks for payment or remote access, stop. You can learn more in our guide how to spot a tech support scam. By the end of this guide, you will know how to get photos onto your computer without losing anything. If you use a tablet while following along, see how to use a tablet for tips.
What You’ll Need
- USB data cable that came with your phone
- Computer with Windows or macOS
- Wi-Fi connection for cloud methods
- Google account or Apple ID for cloud services
How Do You Best Ways to Transfer Photos from Phone to Computer?
- Choose the transfer method that fits your phone and computer
Start with the simplest path. USB cable transfer is usually the fastest. It does not use your internet data. Wireless options are convenient but depend on Wi-Fi speed. Cloud services like Google Photos and iCloud take longer for large photo libraries. Think about how many photos you want to move. If you have fewer than 100 photos, wireless may work well. If you have thousands, use a USB cable.
Here is a simple rule. iPhone to Windows works best with a USB cable and the Windows Photos app. iPhone to Mac works well with AirDrop or iCloud. Android to Windows works well with a USB cable and File Explorer. Android to Mac can use Google Photos or a USB cable with the Android File Transfer app. Google Photos works on any phone and any computer.
One common mistake is trying to use the wrong cable. Some charging cables do not carry data. If your computer does not see the phone, try a different cable. That cable may be charge-only. Also make sure both devices are on and unlocked.
Another quick note. Keep your photos organized on the computer. Create a folder called Photos before you start. Put the date or event in the folder name. That will make finding photos easier later. Now move to the step for your phone type.
- Plug your iPhone into a Windows PC with the USB cable
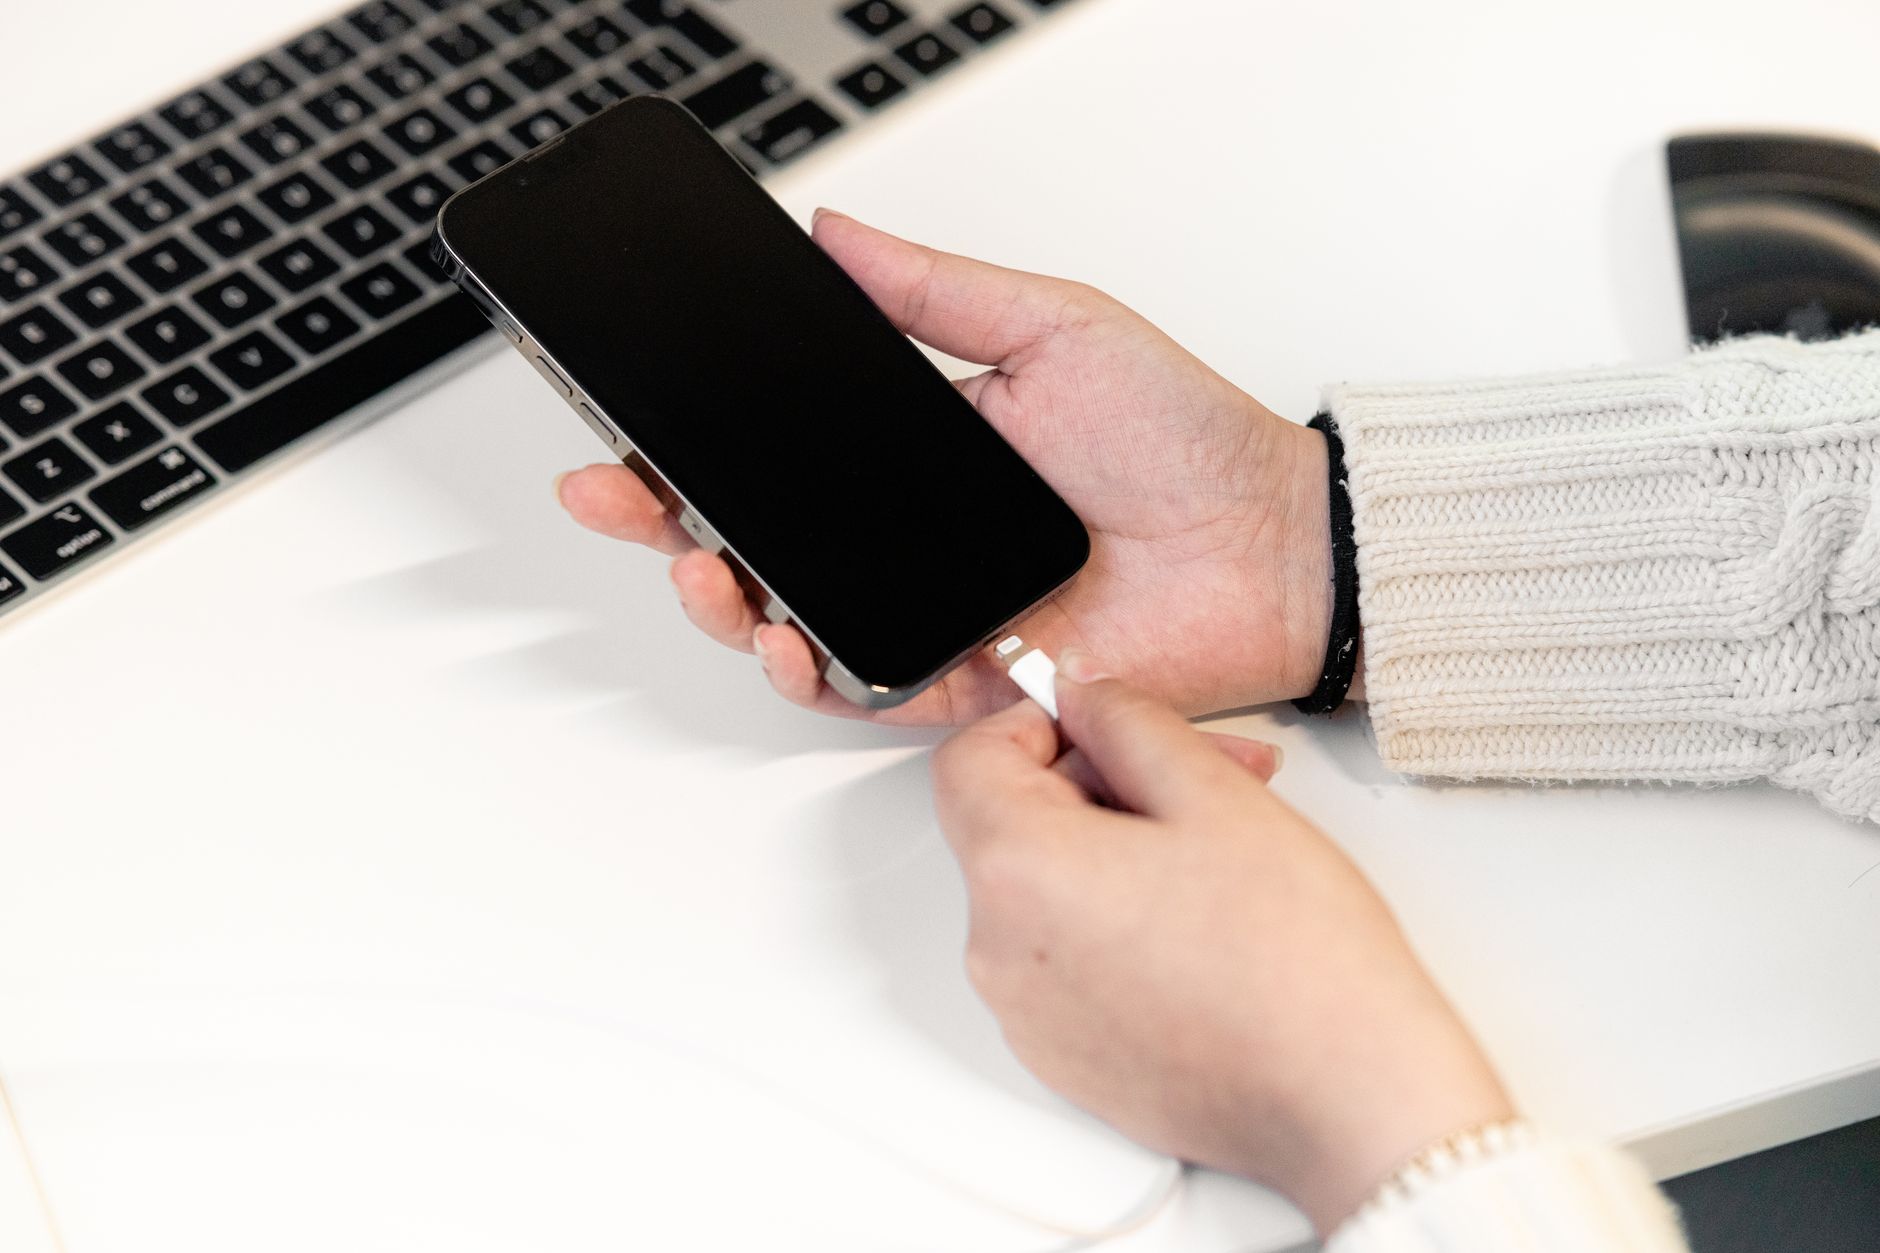
Connect your iPhone to the computer with the cable that came with the phone. Unlock the iPhone. A message may appear on the phone asking if you trust this computer. Tap Trust. Then enter your passcode. This is important. If you do not tap Trust, the computer cannot see your photos.
On the Windows computer, click the Start button. Type Photos in the search box. Open the Photos app. In the top right corner, click Import. Then choose From a connected device. Windows will scan your iPhone for photos and videos. This can take a minute. Select the photos you want to move. Click Import Selected or Import All.
Apple has a helpful support page for importing photos. You can read it at Apple Support. It explains the same steps with more screenshots. If the Photos app does not open, wait a minute for drivers to install. Windows installs drivers automatically. Do not download random driver software.
After the import finishes, open the Pictures folder on your computer. You should see a new folder with today’s date. Open a few photos to make sure they look correct. If some photos did not transfer, run import again. Windows will skip duplicates. If you need help with basic iPhone setup, how to set up a new iPhone has extra tips.

- Connect an Android phone to Windows with a USB cable
Plug your Android phone into the computer using the cable that came with it. Unlock the phone. Swipe down from the top of the screen to see notifications. Look for a message that says Charging this device via USB. Tap that message. A menu will open. Choose File Transfer or MTP. This tells the computer to treat the phone like a storage drive.
On the Windows computer, open File Explorer. You can press the Windows key and E at the same time. Look in the left sidebar under This PC. Your phone should appear as a device. Double-click it. Then open the DCIM folder. Photos are usually inside a folder called Camera. Select the photos you want. Copy them to the Pictures folder on your computer.
Some Android phones have a different menu label. It may say Use USB for. Choose Transferring files or File Transfer. If you do not see the phone in File Explorer, try a different USB port. Some cables are for charging only and do not move data. A cable that came with the phone usually works. If you need help setting up an Android phone, see how to set up an Android phone.
Do not unplug the phone while files are copying. That can damage the file transfer. Wait until the copy progress bar disappears. Then eject the phone safely. On Windows, right-click the phone in File Explorer and choose Eject. This prevents photo corruption.
- Use Google Photos to move photos without a cable
Google Photos is a free app for iPhone and Android. It backs up your photos to the cloud. Google gives you 15 GB of free storage shared across Gmail, Google Drive, and Photos. That is enough for thousands of phone photos if you use Storage Saver quality. Open the Google Photos app on your phone. Sign in with your Google account. Tap your profile picture in the top right. Choose Photos settings. Then tap Backup. Turn on Backup.
The first backup can take hours if you have many photos. Connect to Wi-Fi before you start. Using mobile data can use up your monthly allowance. Keep the phone plugged into power. The app uploads in the background. You can use your phone while it works. But do not close the app or turn off the phone.
When the backup is done, go to photos.google.com on your computer. Sign in with the same Google account. Select photos by clicking the checkmark circle. Click the three-dot menu and choose Download. The computer will save them to your Downloads folder. This works on any computer with a web browser.
If you get an email asking you to click a link to view your Google Photos, be careful. It may be a phishing email. Read how to avoid phishing emails before you click anything. Always go directly to photos.google.com instead of using email links.

- Use iCloud Photos to keep photos synced to your computer
iCloud is Apple’s cloud service. It works best with iPhones and Macs. On your iPhone, open Settings. Tap your name at the top. Then tap iCloud. Next tap Photos. Turn on iCloud Photos. Your phone will upload photos to Apple’s servers. Apple gives you 5 GB of free iCloud storage. That may fill up fast. If you see a message about not enough storage, you can buy more or use a USB cable instead.
On a Mac, open the Photos app. You will see your iCloud Photos automatically. They download when you open them. To keep all originals on the Mac, open Photos settings. Go to iCloud and choose Download Originals to this Mac. That saves full-quality copies on your computer.
On a Windows PC, you can use iCloud for Windows. Download it from the Microsoft Store or Apple’s website. Install the app and sign in with your Apple ID. Turn on Photos. Then open File Explorer. Look for iCloud Photos in the sidebar. Select the photos you want to download. Right-click and choose Download. This copies the photos to your computer.
Keep in mind that iCloud storage fills quickly. 5 GB is small compared to Google’s 15 GB. If you have a lot of photos, the USB cable method may be better. Still, iCloud is useful if you want automatic backup. It also keeps photos in sync across Apple devices.
- Try AirDrop for quick iPhone to Mac transfers
AirDrop is a wireless tool built into Apple devices. It sends photos from an iPhone to a Mac without a cable. It works over Wi-Fi and Bluetooth. You do not need an internet connection. This is great for moving a handful of photos quickly. It is not ideal for thousands of photos because it can be slow.
First, prepare the Mac. Open Finder. Click AirDrop in the sidebar. Set Allow me to be discovered by to Everyone or Contacts Only. On the iPhone, open the Photos app. Tap Select in the top right corner. Choose the photos you want to send. Tap the share icon. It looks like a square with an arrow pointing up. Then tap AirDrop.
Your iPhone will show nearby Apple devices. Tap the name of your Mac. The Mac will show a notification asking if you want to accept. Click Accept. The photos will save to your Downloads folder. Open that folder to see them. You can move them to Pictures later.
Common issues include Wi-Fi and Bluetooth being off. Make sure both are on for both devices. Also make sure both devices are signed into the same Apple ID or are in each other’s contacts. If AirDrop does not work, use the USB cable method instead. That always works.
- Check your photos before you delete anything from the phone
After any transfer, you must verify that the photos are safe on the computer. Open the folder where you saved the photos. Look at the file names and count. Then open a few photos. Make sure they are not blank or corrupted. If you used cloud backup, sign in on the computer and download first. Only delete from the phone after you see the photos on the computer.
Do not delete photos from your phone as soon as the transfer starts. Wait until the entire process finishes. If you used a USB cable, wait until the progress bar disappears. If you used Google Photos, check that photos appear in your account online before deleting. If you used iCloud, make sure the photos download to your Mac or PC.
Once you confirm the transfer, you can delete photos from your phone. On iPhone, open Photos and tap Select. Choose photos and tap the trash icon. Then go to Albums > Recently Deleted and delete again. On Android, open Google Photos or Gallery. Select photos and tap Delete. Empty the trash folder to free space immediately.
Keeping a second copy is wise. You can copy the photos to an external hard drive or USB flash drive. That way, if your computer fails, your photos are still safe. Some people also use online backup services. The key is to have more than one copy in more than one place.
Red Flags & Warnings
- 🚨 Do not delete photos from your phone before you see them on the computer. A transfer can look done but still have missed files.
- 🚨 Do not unplug the USB cable while files are copying. That can corrupt photos and make them unreadable.
- 🚨 Avoid third-party photo transfer apps that ask for payment or remote access. Use official tools from Apple, Google, or Microsoft only.
- 🚨 Check your cloud storage limits. iCloud gives 5 GB free. Google Photos gives 15 GB. If you ignore the limit, backup may stop.
- 🚨 On Android, if your phone does not appear, do not install random USB drivers. Use Windows Update or a cable that supports data transfer.
- 🚨 Never click a link in an email that claims to be from Google Photos or iCloud. Go directly to the official website instead.
Frequently Asked Questions
How do I transfer photos from iPhone to Windows without iCloud?
Use the USB cable that came with your iPhone. Unlock the phone and tap Trust This Computer. Open the Windows Photos app, click Import, then choose From a connected device. Select your photos and import them to the Pictures folder.
Why does my computer not show my Android phone?
The USB notification on your phone may still say Charging this device via USB. Tap it and choose File Transfer or MTP. If that does not work, try a different USB cable. Some cables are for charging only and cannot transfer data.
Are wireless photo transfers safe?
Yes, when you use official services like Google Photos and iCloud. They encrypt your photos during transfer and at rest. Use a strong password and turn on two-factor authentication. Avoid email links and unknown apps.
How many photos can I store in Google Photos for free?
Google gives 15 GB of free storage shared across Gmail, Google Drive, and Google Photos. That usually holds several thousand compressed photos. Once full, you can buy more storage or download and delete photos.
Can I transfer photos from an iPad the same way?
Yes. An iPad works like an iPhone. Use the USB cable and tap Trust This Computer. Then import photos using Windows Photos or iCloud. You can also use Google Photos on any iPad.
Do I need to install special software to transfer photos?
Usually no. Windows has the Photos app and File Explorer built in. Mac has Photos, Image Capture, and AirDrop. For iCloud on Windows, you need the iCloud for Windows app from Apple. For Google Photos, you only need a web browser.
What Should You Remember?
- Use the USB cable that came with your phone for a fast, free transfer.
- Tap Trust This Computer on iPhone or choose File Transfer on Android so the computer sees your photos.
- Try Google Photos for wireless backup across phone and computer. It includes 15 GB free storage.
- Enable iCloud Photos on iPhone to sync with Mac or to download to Windows with iCloud for Windows.
- Check before deleting any photos from your phone. Open a few files on the computer first.
- Avoid random transfer apps that ask for payment or remote access. Stick with Apple, Google, or Microsoft tools.
This article is for general informational purposes only and is not medical, financial, or professional advice. Statistics and product details change, so verify current figures with the cited source before acting. Some links may be affiliate links that support this site at no cost to you.