Email is the key to many online services. Banks, doctors, stores, and family members use it to reach you. But setting up email can feel confusing if you have never done it before. The good news is that you can follow simple steps. You do not need to be a computer expert. A Pew Research Center report shows that more adults over 65 use email than any other online activity. This guide breaks down the whole process in plain English. It covers choosing a provider, creating an account, adding it to your devices, and staying safe.
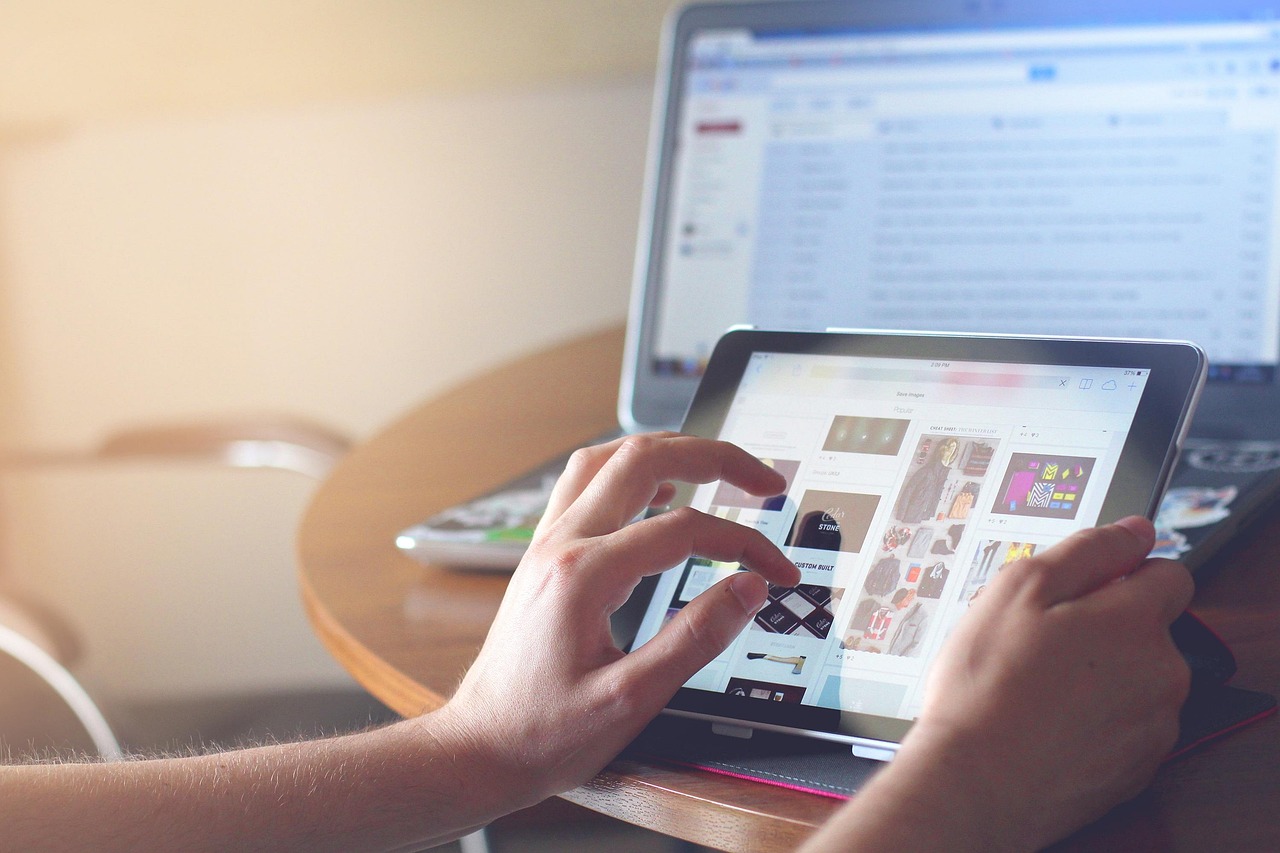
Before you start, think about the device you will use. You can set up email on a computer, smartphone, or tablet. If you just got a new iPhone, our guide on how to set up a new iPhone will help with basic device setup first. Android users can check the Android phone setup guide. The steps below work on any device. You just need an internet connection and about 20 minutes. Many beginners prefer a smartphone because the touch screen feels easier.
You also need a few things before you begin. You need your phone nearby to receive a verification code. You need an email address idea, like your name plus a number. You need a password that is long but easy for you to remember. Do not use simple passwords like 123456. Our article on password safety for seniors explains how to create strong passwords. You can write the password down in a safe place at home. Just do not keep it stuck to your device.
Email brings convenience but also some risks. Scammers often send fake messages to steal your information. This is called phishing. You can learn more in our guide on how to avoid phishing emails. The good news is that basic habits protect you. Do not click on links from people you do not know. Check the sender address carefully. Never give your password to anyone. The steps below include safety tips at every stage. That way you can enjoy email without worry.
What You’ll Need
- A computer, smartphone, or tablet with internet connection
- A mobile phone number for verification
- A piece of paper to write down your password
- A recovery email address, such as a family member’s address
How Do You Best Way to Set Up Email?
- Choose a reliable email provider that fits you
There are three main email providers that beginners use most. Gmail is made by Google and works well with Android phones. Outlook is made by Microsoft and is common on Windows computers. Apple Mail or iCloud Mail is built into iPhones and Macs. All of these are free to start. All of them let you send and receive messages. The differences are small for everyday use. Pick the one that matches your device. If you have an iPhone, Apple Mail is already there. If you use an Android phone, Gmail is already installed. Consider what you already use. Do you search with Google? Gmail may be easiest. Do you use a Windows PC for work or home? Outlook is a natural fit. If you have an iPad, read our guide on how to use a tablet before adding email to it. Each provider also has a website you can use in a browser. You do not need to install anything extra. Take your time with this step. The email address you pick will be with you for a while. It is hard to change later without creating a new account. So choose a provider you trust. Then choose a username that is simple and professional. For family email, you can use your name and birth year, like [email protected]. Avoid rude words or private numbers like your Social Security number.

- Create your email account safely
Now you will create the account. Go to the provider’s official website. For Gmail, open your browser and type mail.google.com. Or tap the Gmail app on your phone. For Outlook, go to outlook.com. For Apple iCloud Mail, open Settings on your iPhone and tap your name. Then tap iCloud and turn on Mail. Google has a clear official guide for creating a Gmail account. You can follow the steps on the Google Gmail Help page. That page shows each screen you will see. On the sign-up page, you will enter your first and last name. Then you choose your email address. If the one you want is taken, the website will suggest alternatives. You can add a number or middle initial. Next you create a password. Use at least 12 characters. Mix upper and lower case letters, numbers, and a symbol. The password should be unique for this account. Do not reuse your banking password. Review our password safety for seniors tips if you are unsure. The provider will ask for a phone number. This is used to verify you are a real person. It also helps you reset your password if you forget it. Enter your mobile number and wait for a text message. Type the code into the box. Some providers also ask for a recovery email. You can add a family member’s email address there. That gives you another way back into the account if you get locked out. When you finish, you will land in your new inbox. Take a moment to look at the welcome message. Providers often send a few emails to help you learn. Do not click links in those welcome emails unless you know the sender. You do not need to download anything else. Your account is ready.
- Set a strong password and enable recovery options
Your password is the lock on your front door. A weak password is like leaving that door open. You should make it strong from the start. Use a phrase with numbers and symbols. For example, MyDogLoves2Sleep is easier to remember than a random string. Do not use your birthday, your name, or your pet’s name alone. Those are easy for a scammer to guess. A long passphrase is better than a short random one. After you sign in, open your account settings. In Gmail, tap your profile picture and then Manage your Google Account. In Outlook, click your profile picture and then My Microsoft account. On an iPhone, go to Settings and tap your name, then Password and Security. Look for recovery options. Add a phone number and a recovery email address. These help you get back in if you forget the password. Without them, you might lose the account forever. Most providers now offer two-step verification. This means you need your password plus a code sent to your phone. It sounds like extra work, but it stops most hackers. Turn this on if you can. The provider will guide you through it. You will enter your password, then type a six-digit code from a text message. It takes only a few seconds each time you sign in on a new device. Write down your password and recovery answers. Keep that note in a safe place at home. Do not store it on your phone in a note called passwords. If someone finds your phone, they could see it. Also avoid sharing your password with a phone caller. Real companies never call and ask for your password. Our article on how to spot a tech support scam explains this common trick.
- Add your new email account to your phone or computer
Now you need access to your email on the device you use daily. On an iPhone, open the Mail app. If you use iCloud Mail, it may already be added. If you use Gmail or Outlook, go to Settings, then Mail, then Accounts. Tap Add Account. Choose your provider and sign in with your new email and password. The phone will do the rest. For more help with the device itself, see how to set up a new iPhone. On an Android phone, open Settings and find Accounts or Passwords and accounts. Tap Add account and choose Google for Gmail or Personal IMAP or Exchange for Outlook. You can also download the Outlook app from the app store. Most Android phones already have the Gmail app. Sign in and your messages will appear. If your phone feels too small, the steps are similar on a tablet. Read how to use a tablet for tips on making text larger and easier to read. On a Windows computer, you can use the Mail app. Click Start, open Mail, and choose Add account. Select your provider and sign in. Or you can simply use your web browser. Go to mail.google.com or outlook.com and bookmark it. That way you do not need to install anything. The browser version is often the simplest for beginners. After adding the account, send yourself a test message. Type your own email address in the To field. Put Test in the subject line. Tap Send. Then check your inbox. If the message appears, your setup works. If not, check your internet connection and password. Log out and log back in if needed. This is also a good time to adjust text size if the words look too small. Our guide on how to increase text size on phone walks through that.
- Learn the basic parts of your email inbox
Your inbox may look busy at first. But it has only a few main parts. The Inbox is where new messages land. The Compose button starts a new email. It is often a large button that says Compose or a pen icon. The Sent folder stores messages you have sent. The Drafts folder holds messages you have not finished. The Trash folder holds deleted messages. The Spam or Junk folder holds suspected junk mail. Take a few minutes to click around. Do not worry about breaking anything. Emails you delete go to Trash first. You can move them back if you change your mind. Open a message by clicking or tapping it. To go back, tap the back arrow or the inbox name. This is safe to practice. You cannot break email by looking at folders. Look at the top of an email. You will see the sender’s name and address. That is the From field. Under it is the subject line. The subject tells you what the email is about. Some emails have attachments, like photos or documents. These appear as paperclip icons. Do not open attachments from unknown senders. They may contain viruses. You can delete emails you do not need. Tap the trash icon or move them to Trash. You can also mark emails as spam. That teaches the provider to block similar messages. But do not just delete everything. Some messages from your bank or doctor matter. If unsure, leave it in the inbox for now.
- Send your first email and manage replies
Now you are ready to write a real email. Tap Compose. In the To field, type the email address of someone you know. If you are emailing a family member, ask them for their address. It looks like [email protected]. The subject line should be short. For example, Hello from Maria. In the large blank area, type your message. You can start with a simple greeting. Hi Pat, I just set up my new email. This is my first message. Then tap Send. When someone replies, their message appears in your inbox. You can click it to read it. To reply, tap the Reply button. That opens a new email with their message quoted below. Type your response above the quoted text. Then hit Send. You can also forward an email to someone else. Forward sends a copy to a new person. Use Forward only when you trust the recipient. If you want to send a photo, use the attachment icon. It often looks like a paperclip. Tap it and choose a photo from your phone or computer. The photo will be attached to the email. Be careful with large attachments. Some email providers limit file size. Most photos are fine. If you need to transfer many photos from your phone to a computer, that is a different task. Our guide on how to transfer photos from phone to computer covers it. Managing replies can feel like a chore. You do not need to answer every email right away. Check your email once or twice a day. Use the star or flag feature to mark important messages. Later, you can view only starred messages. This keeps things from feeling overwhelming.
- Set up safety habits and avoid scams
Email is useful but scammers use it every day. The best defense is a habit of caution. Never click a link in an email from someone you do not know. Even if the email looks real, check the sender address. A bank email will not come from a Gmail address. If the message says urgent or your account will be closed, slow down. Scammers try to make you panic. Call the company directly using a number you know, not one in the email. Our guide on how to avoid phishing emails explains common email tricks. For example, a fake email might say your package is delayed. It asks you to click a link to reschedule. The link leads to a fake website. If you are not sure, delete the email. You can also mark it as spam. Most providers improve their filters when you do that. Be careful with messages about prizes or refunds. No one gives away money by email. If an email says you won a lottery you never entered, it is a scam. Delete it and do not reply. Replying tells the scammer your address is active. That can lead to more spam. You can also block the sender. Look for the three-dot menu and choose Block. If you receive an email that looks like it came from a family member asking for money, call that person first. Scammers can fake a display name. The actual email address may be wrong. Check the full address before acting. Also avoid giving out your email password to anyone, even someone claiming to be tech support. Real support agents do not need your password. Our article on how to spot a tech support scam covers those calls. Finally, keep your email account recovery options up to date. If you change your phone number, update it in your account settings. This matters because password resets go to that number. Set a calendar reminder to check your recovery email twice a year. A few minutes of prevention saves hours of trouble later.
Red Flags & Warnings
- 🚨 Never share your email password with anyone who calls or texts you, even if they say they are from tech support.
- 🚨 Do not click links in emails you did not expect. Go to the company’s website by typing the address yourself instead.
- 🚨 Check the sender’s full email address, not just the display name. Scammers can fake a familiar name.
- 🚨 Avoid using the same password for email and banking. If one account is exposed, the other stays safe.
- 🚨 Beware of free gift or prize emails. Legitimate companies rarely ask for personal details by email.
- 🚨 Watch for urgent messages that ask you to verify your account immediately. Slow down and verify through official channels.
Frequently Asked Questions
Do I need a computer to set up email?
No, you can set up email entirely on a smartphone or tablet. Open the mail app or download the Gmail or Outlook app. You need an internet connection and a phone number for verification. A computer is optional.
Is Gmail free?
Yes, Gmail is free for personal use. It includes 15 gigabytes of storage shared across Google services. You may pay if you need more storage, but most beginners never need more.
Which email provider is easiest for beginners?
Gmail is often easiest because the buttons are clear and the help library is large. Outlook is also simple and works well on Windows. Apple Mail is convenient on iPhones. Choose based on the device you already use.
Can I have more than one email address?
Yes, you can create multiple email accounts from the same or different providers. Many people keep one for personal mail and one for online shopping or newsletters. Just remember different passwords for each.
What should I do if I forget my email password?
Use the Forgot password link on the sign-in page. The provider will send a code to your recovery phone number or email. Enter that code and create a new password. If you did not set recovery options, contact the provider’s support team.
Can I change my email address later?
You cannot change the address itself, but you can create a new account with a new address. Then you can forward mail from the old account or notify your contacts. Some providers let you add aliases that receive mail at a different address.
What Should You Remember?
- Choose a provider: Pick Gmail, Outlook, or Apple Mail based on the device you already use.
- Create a strong password: Use a long phrase with numbers and symbols. Do not reuse banking passwords.
- Add recovery options: Set a phone number and recovery email so you can get back in.
- Add the account to devices: Use the Mail app or official provider app on phone and computer.
- Learn inbox basics: Know Compose, Inbox, Sent, Drafts, Spam, and Trash.
- Spot email scams: Never click links from unknown senders. Check the full sender address.
- Practice regularly: Send a test message and check email once or twice a day.
This article is for general informational purposes only and is not medical, financial, or professional advice. Statistics and product details change, so verify current figures with the cited source before acting. Some links may be affiliate links that support this site at no cost to you.